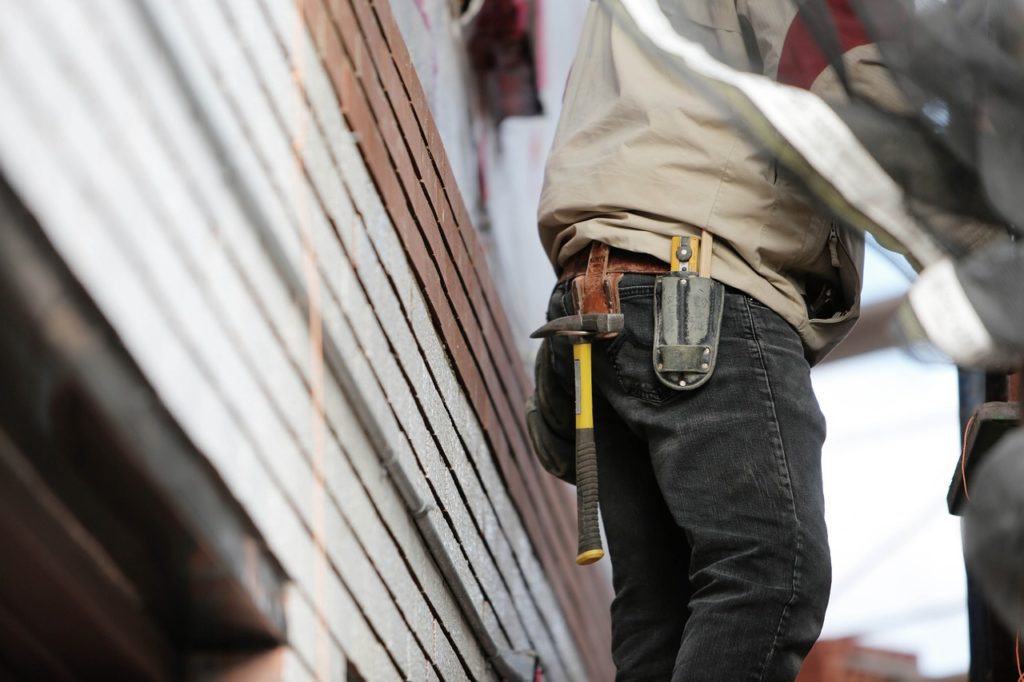
If you are looking to begin your DIY journey or you’re just wanting to learn a new skill, then kudos to you! Getting handy around the house is a great step towards self-sufficiency and it can be quite a fun hobby too. Today, we are going to delve into the world of hammers. Yep, you heard it right, hammers! A fundamental tool, there’s a lot more to hammers than you might think. So, sit back and prepare yourself for a little Hammer 101.
The Wide World of Hammers
Did you know there are over 40 types of hammers? Each one designed for a different job. As a beginner, it’s good to start with the basics and here are the three most common types you should know about:
- Claw Hammer: This is your quintessential, versatile tool. With a flat head for pounding and a curved claw for pulling out nails, it’s ideal for most basic tasks.
- Ball Peen Hammer: Mostly used for metalworking, this one has a flat side and a rounded side (the peen). It’s used for shaping metal and closing rivets.
- Sledge Hammer: This is your heavy-duty option. Used for breaking up concrete or driving stakes, it’s a little advanced for beginners, but good to know about.
When selecting your first hammer, the claw hammer is the most recommended due to its multipurpose usability.
Size and Weight Matter
Another key factor when choosing a hammer is the weight. Most claw hammers are around 16 ounces, which is suitable for most general tasks. If you’re planning on doing more delicate work, you might want a lighter hammer. Conversely, if you have some heavy-duty tasks on your plate, a heavier hammer might be required. Remember, it’s all about what feels comfortable and manageable in your hand.
Handle With Care
Handles can be made from different materials, such as wood, fiberglass, or steel. Each has its own benefits and drawbacks.
Wooden handles absorb shock well but can break. Fiberglass handles are durable and offer good shock absorption, but they may not stand up to heavy-duty tasks. Steel handles are incredibly durable, but they can transfer more shock to your hand and arm, which can lead to fatigue.

Mastering Hammering Techniques
Once you’ve got your hammer, it’s time to learn how to use it properly. Here are a few tips:
- Hold It Right: The hammer should be held near the end of the handle. This gives you the most leverage and control.
- Swing Correctly: The motion should come from your elbow and wrist, not your shoulder. Your wrist should stay straight, not bend.
- Safety First: Always keep your eyes on the nail you are hammering and make sure to clear the area of anything you could accidentally strike.
As you get comfortable with these basics, you can start exploring more advanced techniques and maybe even other types of hammers.
Safety Considerations
Last but not least, remember safety first. Always wear protective eyewear when hammering to protect your eyes from flying debris. Check your hammer regularly for any signs of wear or damage. A loose hammerhead can be extremely dangerous.
Wrapping Up
There you have it, folks! Your beginner’s guide to hammers. The world of DIY can be a lot of fun, and with the right tools at your disposal, there’s no limit to what you can create. Now that you know how to select a good hammer and use it properly, why not get out there and start your next project? Good luck and happy hammering!
More About Hammers
More Do It Yourself
